Beginner's guide to Maven
Maven is a build automation tool used primarily for Java projects.
Maven has many use in Java projects, one of the use case that I use is for dependency manager. If you know PHP and Laravel, most likely you will use composer. In Node.js environment, NPM.
In Java environment, the most popular build tool are maven and gradle. If you ever played with android environment, most likely you have used gradle before.
Every maven projects will have a file called POM.xml. Every gradle projects will have file with extension .gradle – this file is written in groovy script.
I am not going to jump in the pros and the cons of maven vs gradle. But according to survey in 2018 by Baeldung, 74% of Java projects use maven as it’s build tool. In my experience, when I search for online tutorials, usually there will be a POM.xml on the page. So it will be a good idea when we know one or two things about Maven
Modern IDE like Intellij Idea, usually maven is included, so we don’t need to install maven ourselves.
In case you need to install maven manually, you need java installed and configured. Below are the steps to install maven in Windows 7.
1. Download Maven
Download maven from https://maven.apache.org/download.cgi

2. Extract the file
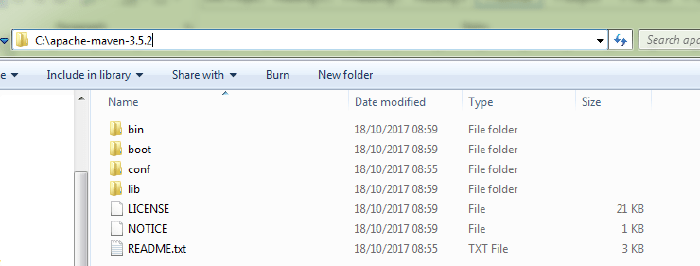
3. Configure Environment Variable
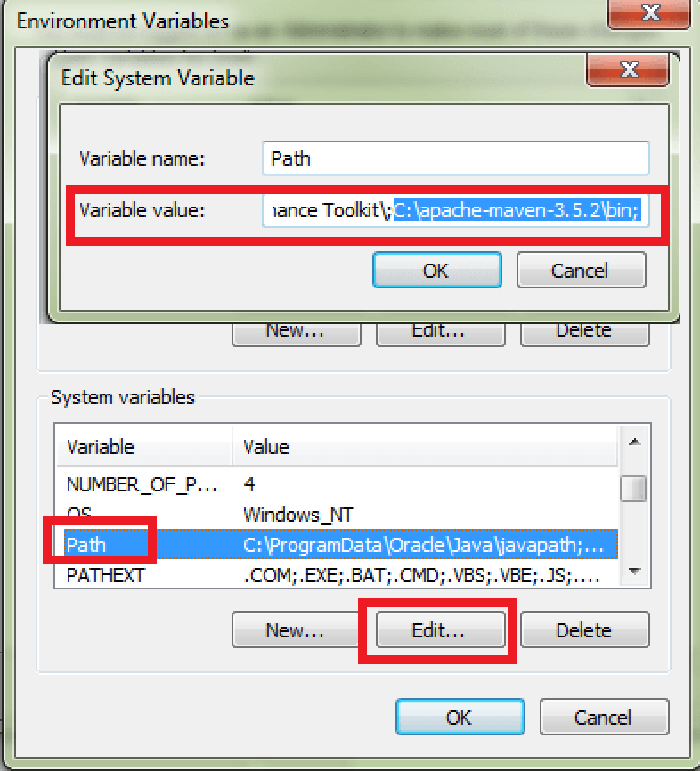
To make it easier accessing maven, setup environment variable PATH to <maven_path>/bin.

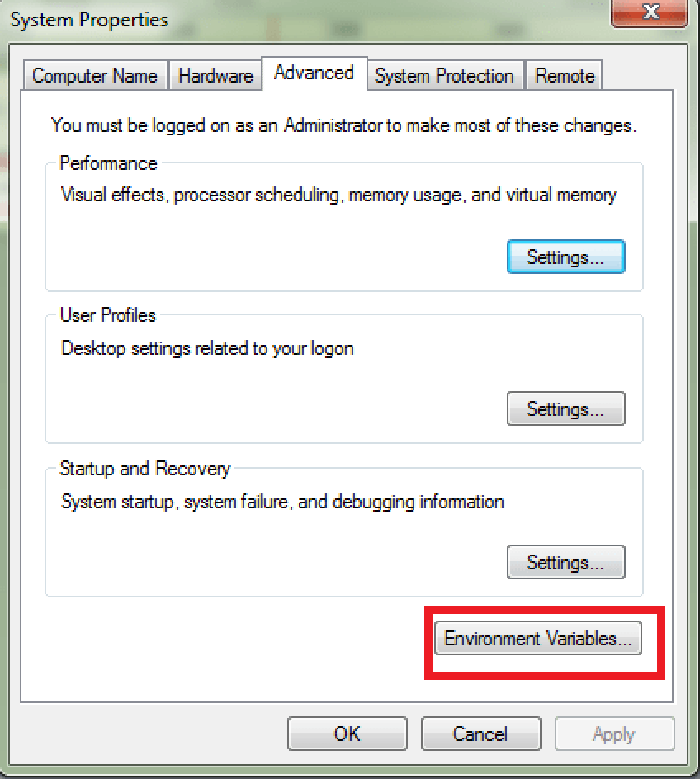
Environment Variables
While at at it, also check JAVA_HOME and CLASSPATH inside environment variables
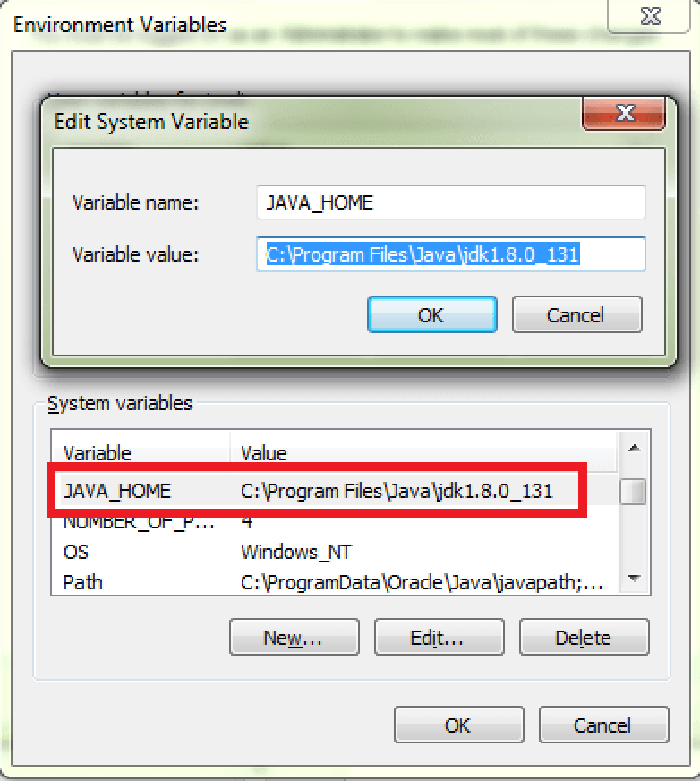
JAVA_HOME
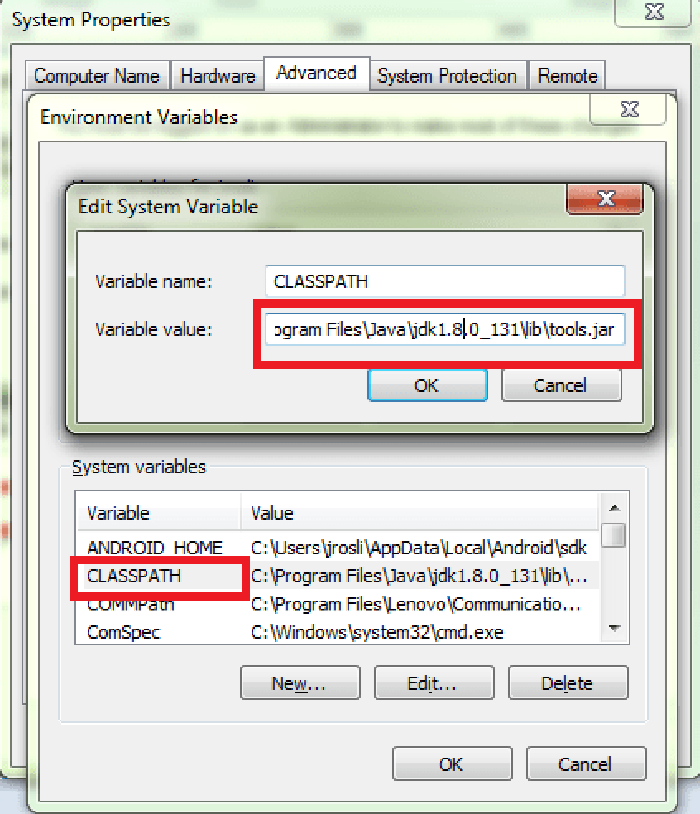
CLASSPATH points to <JDK>\lib\tools.jar
To test maven installation, execute:
mvn -v 
